Tag Group is a feature that allows you to add additional hierarchy with the help of tags in a way that can be easily used for searching and grouping records.
How To Create a Tag Group
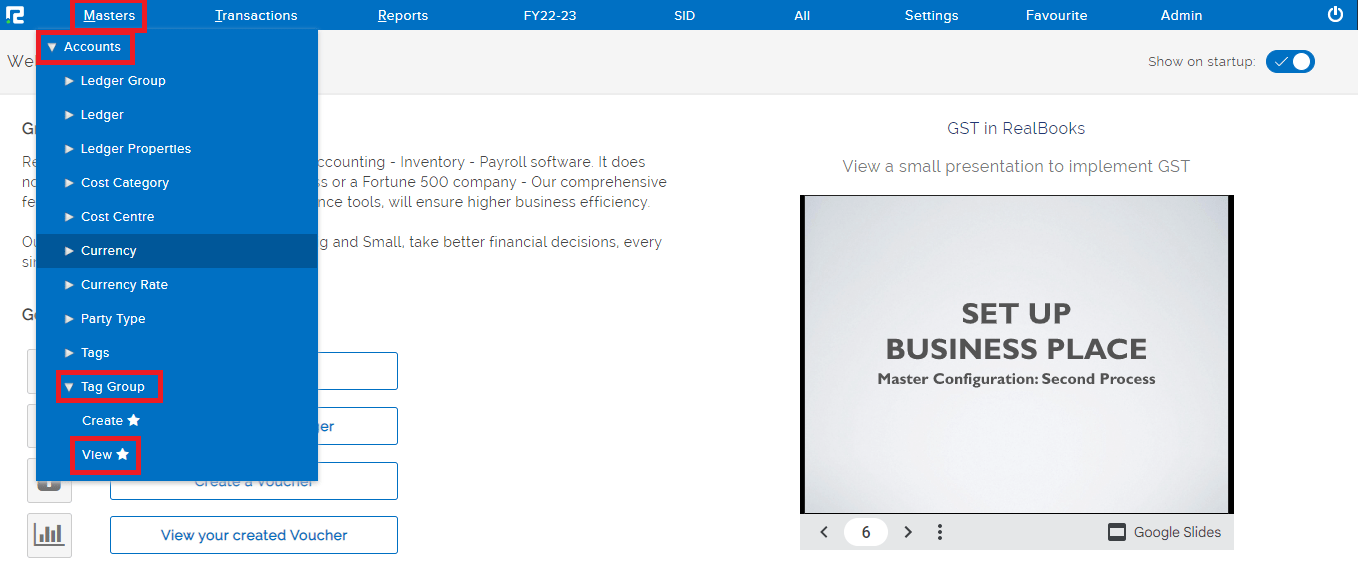
STEP 1: Go to Masters⇒ Accounts⇒ Tag Group⇒ Create

STEP 2: Fill in the following information after selecting the “CREATE” option.
1. Tag group name- Name of the tag group.
2. Under- If it is a main category put it under primary or if it is a subset put it under the relevant tag.
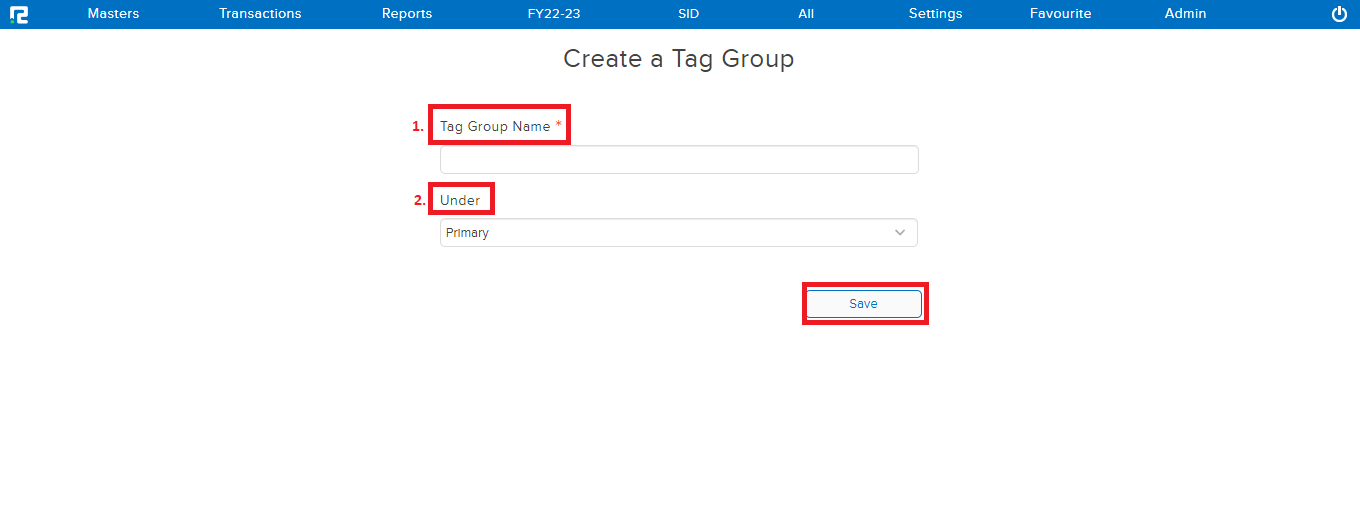
STEP 3: Click on the “SAVE” button.
The tag group that you created will be saved successfully.
How To Edit Tag Group
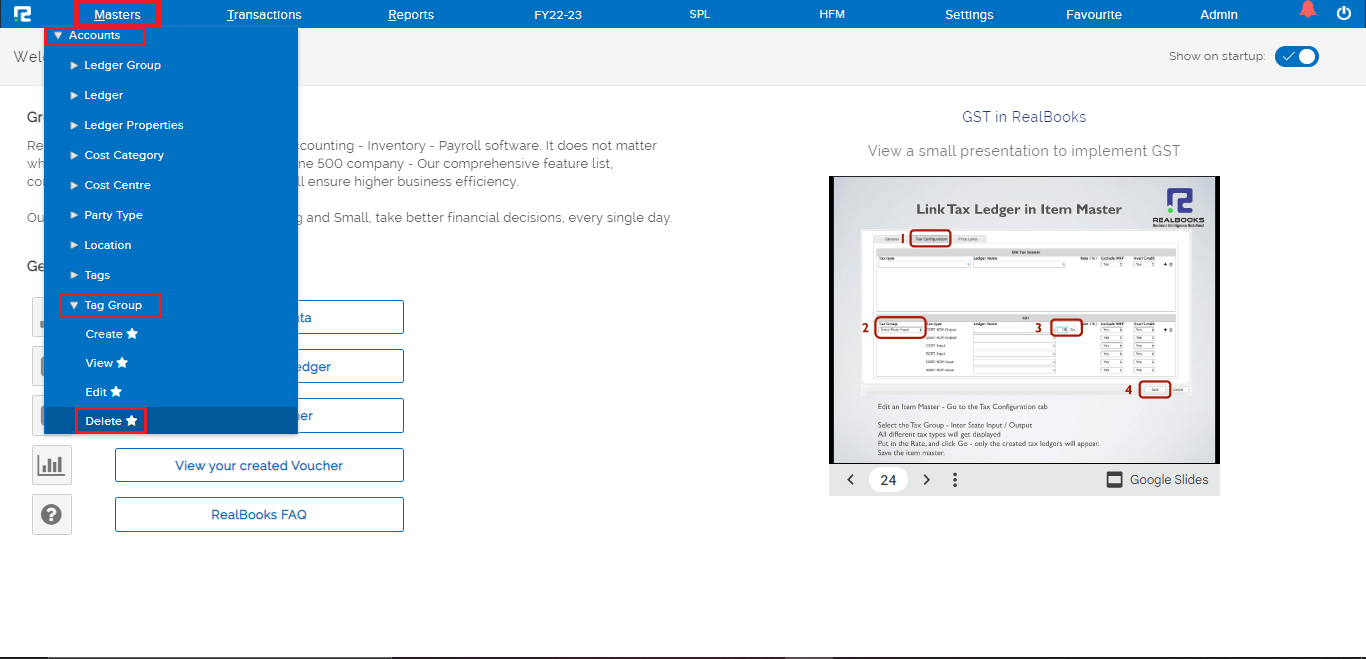
STEP 1: Go to Masters⇒ Accounts⇒ Tag group⇒ Edit

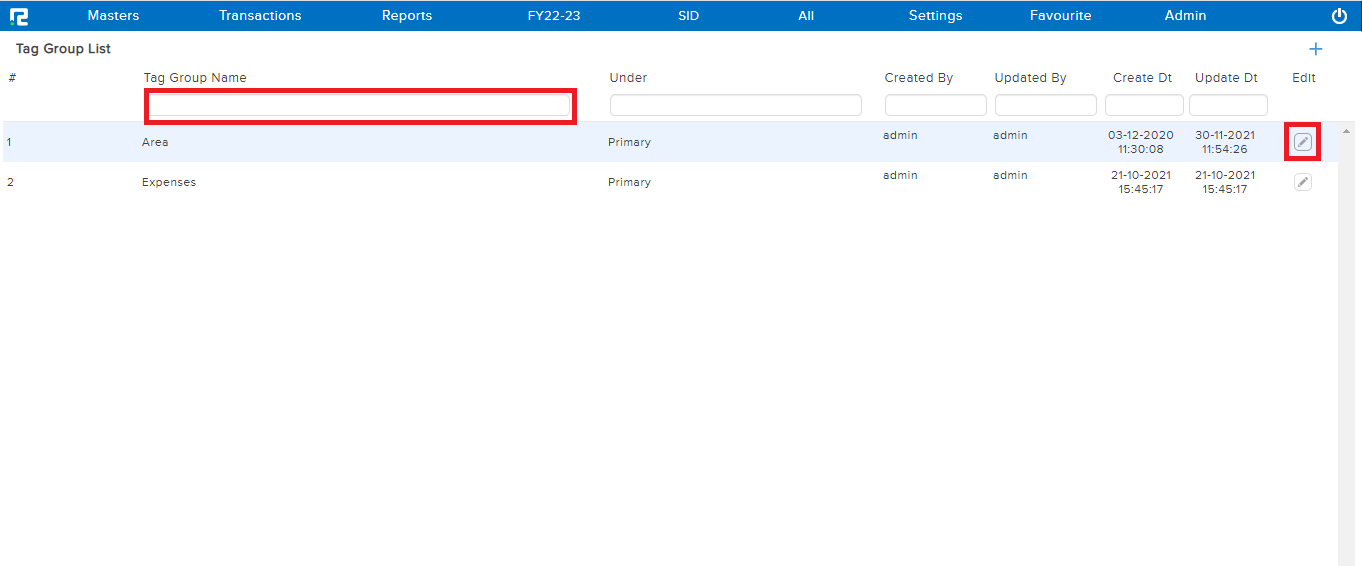
All the tag groups that you have created will be displayed.
STEP 2: At the right end of each tag group a “PENCIL” icon is present, click on it to make the relevant changes to a particular tag group.
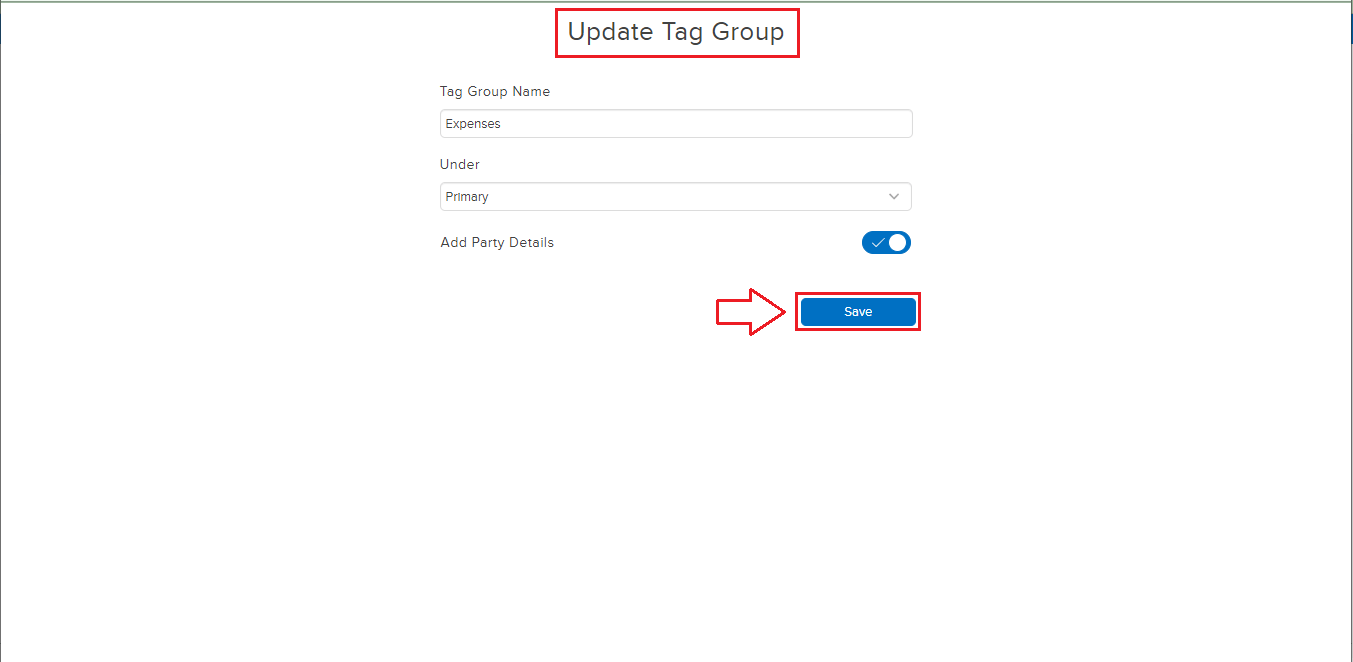
The Tag Group update screen will appear, make the necessary changes. Click on “SAVE“.
How To View Tag Group
STEP 1: Go to Masters⇒ Accounts⇒ Tag group⇒ View
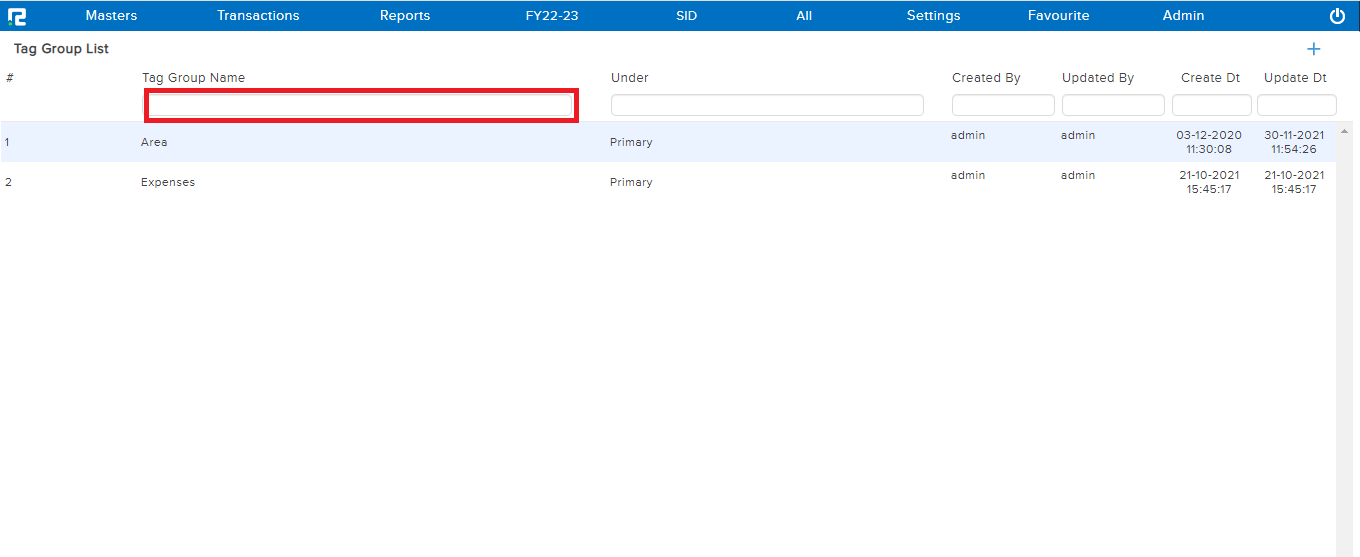
STEP 2: The entire list of existing tag groups will be displayed here. It also shows who has created the particular tag group as well as when it was last updated along with their relevant date and time.
How To Delete a Tag Group
STEP 1: Go to Masters⇒ Accounts⇒ Tag Group⇒ Delete
All the tag groups that you have created will be displayed.
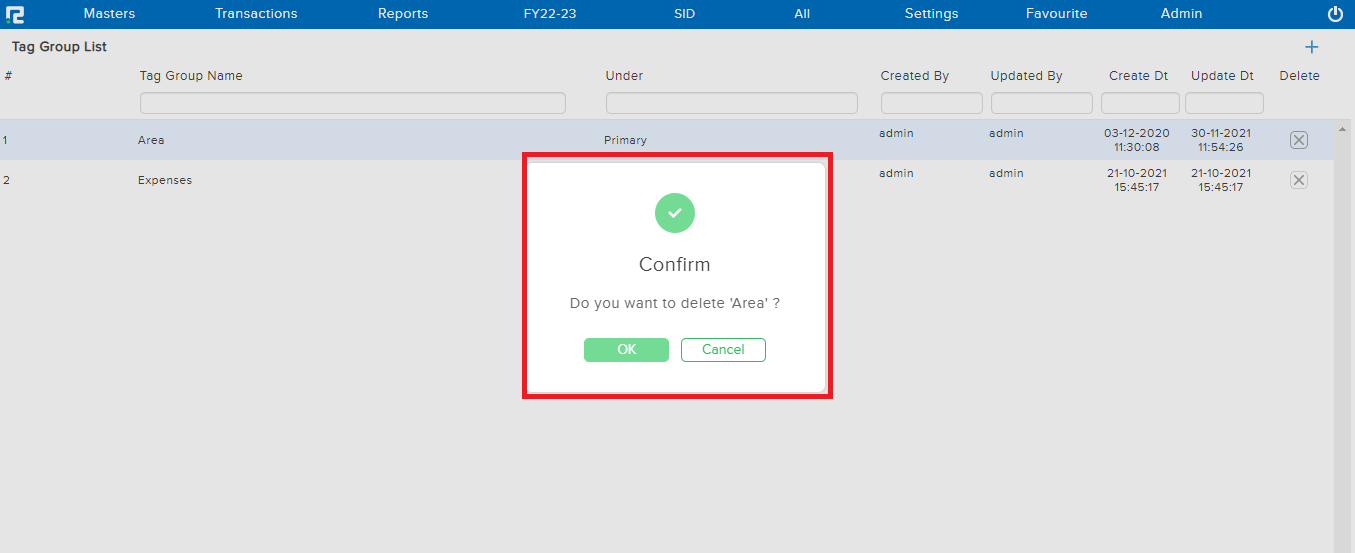
STEP 2: At the right end of each tag group the “x” icon is present, click on it to delete a particular tag group.
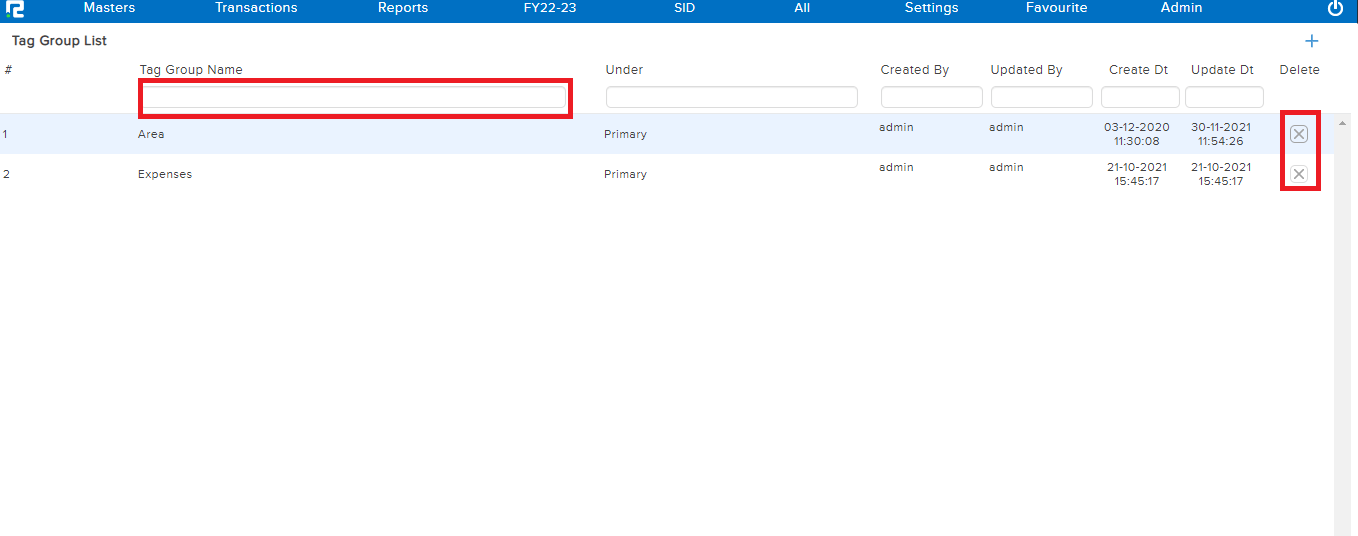
STEP 3: A confirmation box will appear once you click on “OK” and the group will get deleted.