Item Group describes the nature of the items. Here the user can create unlimited item groups and group hierarchies for different natures of items.
How to Create an Item Group
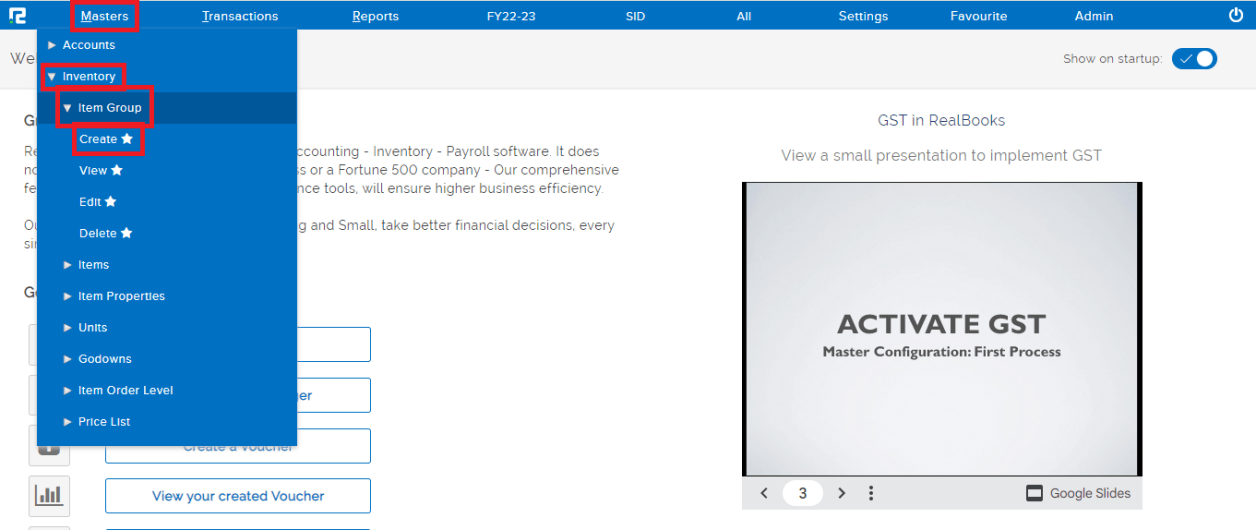
STEP 1: Go to Masters ⇒ Inventory ⇒ Item Group ⇒ Create
STEP 2: Fill in the following information after selecting the create option under general.
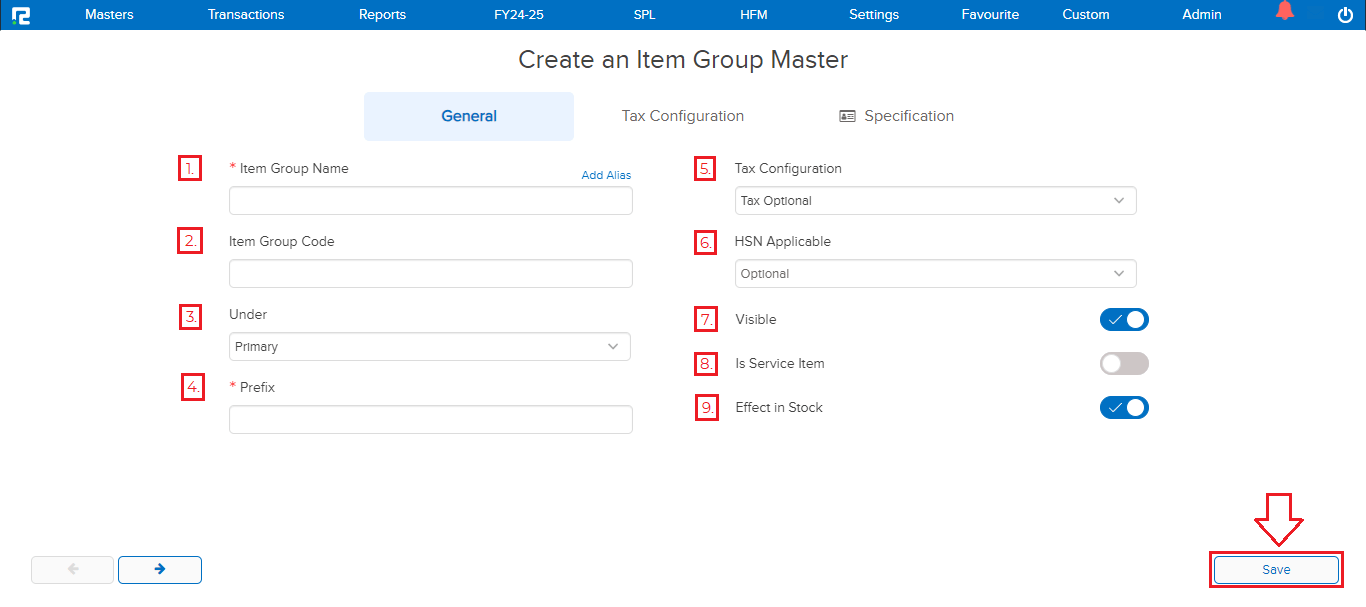
1. Item group name– Name of the item group.
2. Item group code– If applicable, the Item Group Code.
3. Under– If it is a main group, keep it as Primary, and if it is a sub-group, then select the group from the dropdown.
4. Prefix– For item code generation, it is mandatory to add a prefix before creating the item group.
5. Tax configuration– The tax applicability for the item group can be opted from the dropdown list. If we mark it as mandatory, then the item group can not be created without configuring tax.
6. HSN Applicable – The HSN applicability for the item group can be opted from the dropdown list. If we mark it as mandatory, then the item group can not be created without configuring tax.
7. Visible– To keep this item group available for search, the toggle button must be enabled. Otherwise, this group will not be available for further assignment.
8. Service item– If this feature is enabled, then the items under this item group will not be treated as stock-in-trade. Hence it will not have any inventory impact. This is useful for businesses who belongs to service industry.
9. Effect in stock– If this feature is enabled, then the items under this item group will be treated as stock-in-trade.
Point no. 7 & 8 cannot be enabled together.
The “TAX CONFIGURATION” tab is used to configure GST & Cess to the item group.
Select the appropriate tax nature from the dropdown list displayed, and configure the tax accordingly.
The tax configured on the group level will flow in all items created under this group.
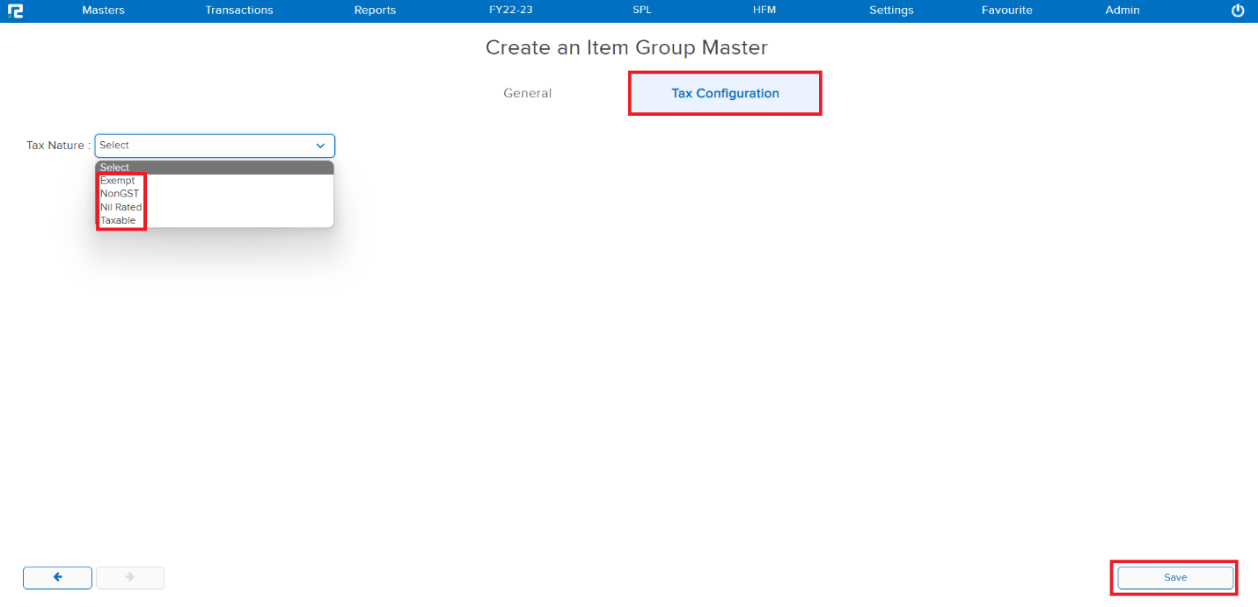
STEP 3: Click on the “SAVE” button the item group will be created successfully.
How to Edit Item Group
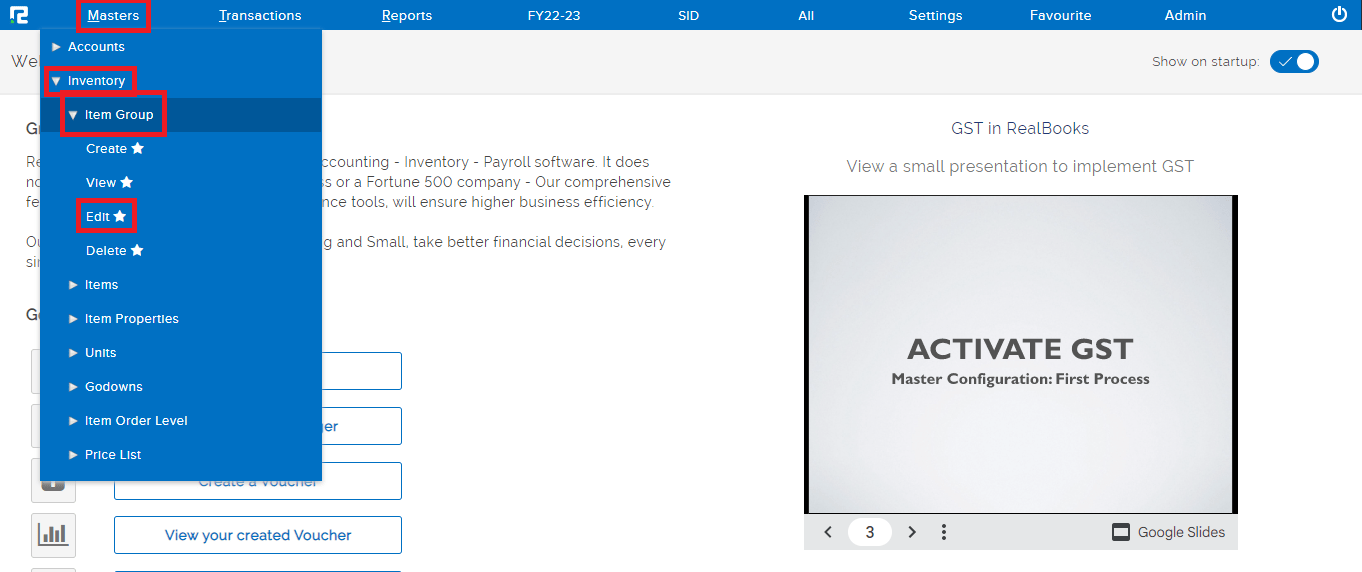
STEP 1: Go to Masters ⇒ Inventory ⇒ Item Group ⇒ Edit
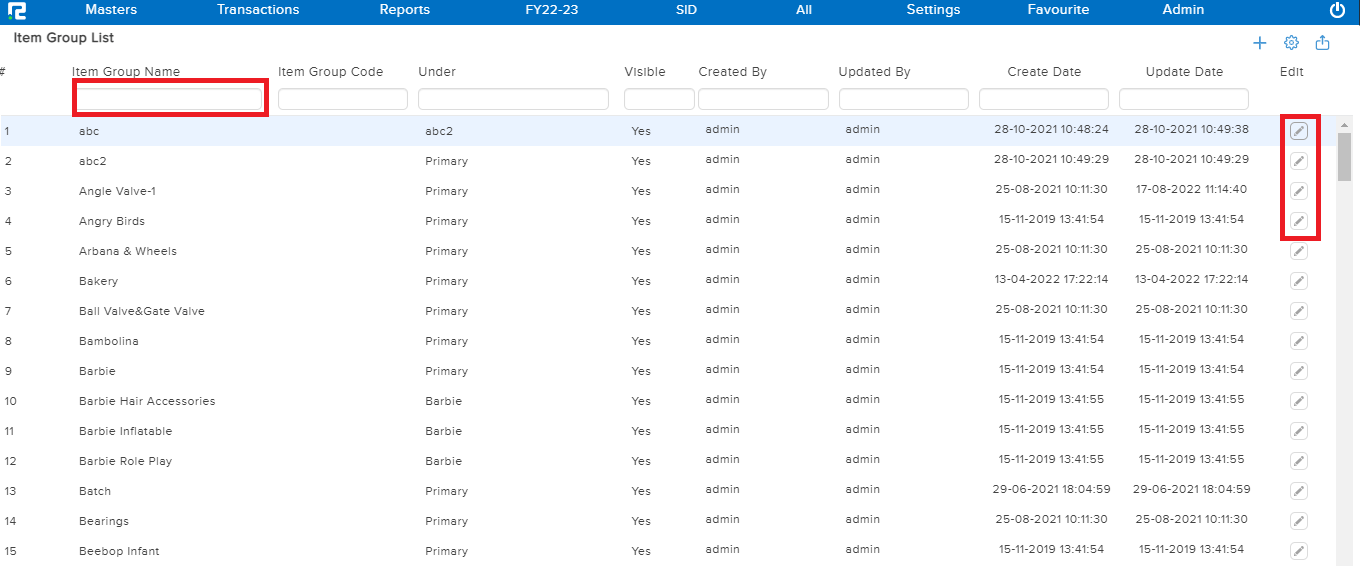
STEP 2: The entire list of existing item groups will be displayed here. In case of long lists, it is easy to filter the data by searching for the name under the item group name.
STEP 3: At the right end of each item group a “PENCIL” icon is present, click on it to make the relevant changes to a particular item group.
STEP 4: The Item Group Master Edit screen will appear, make the necessary changes. Click on “SAVE“.
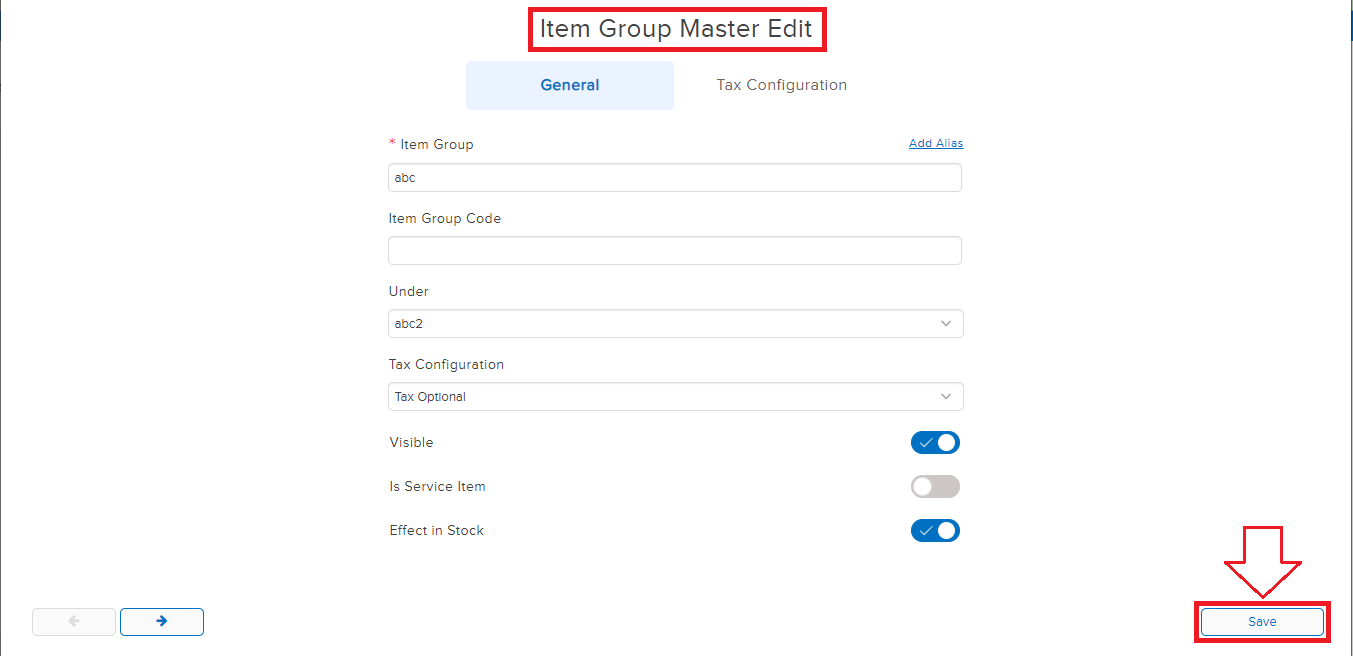
The changes made will be saved successfully.
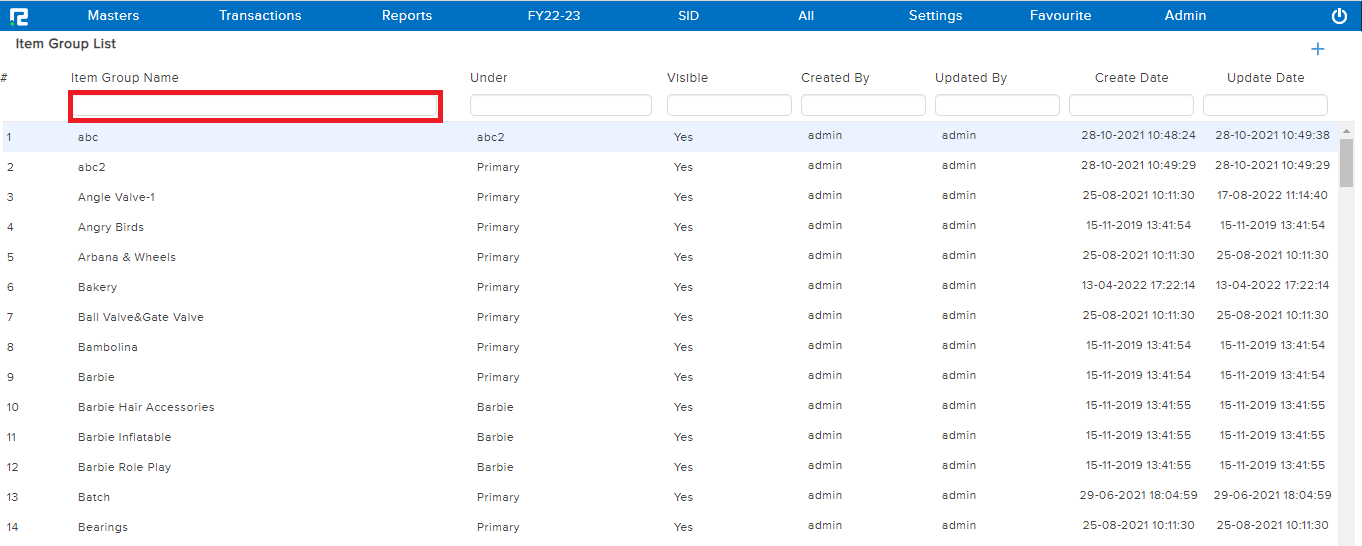
How to View Item Group
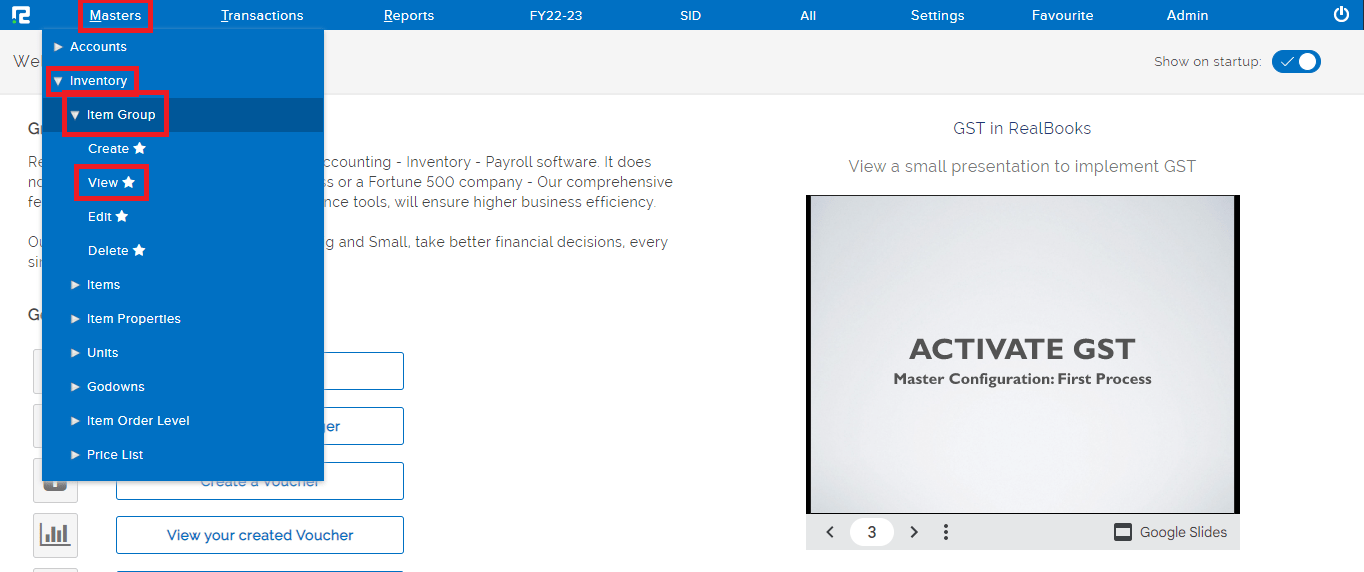
STEP 1: Go to Masters ⇒ Inventory ⇒ Item Group ⇒ View
STEP 2: The entire list of existing item groups will be displayed here. The filters available above each column can be used to filter the data accordingly.
How to Delete an Item Group
STEP 1: Go to Masters ⇒ Inventory ⇒ Item Group ⇒ Delete

Enter the name of the item group you are looking for under the item group name that you want to delete.
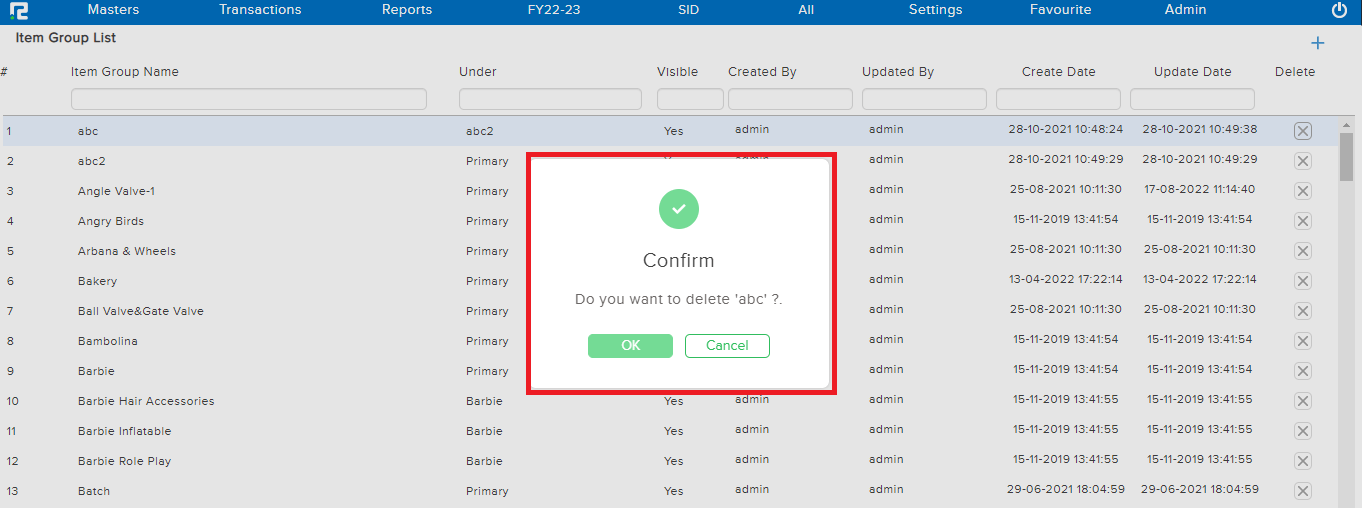
STEP 2: At the right end of each item group there is a “x” icon click on it to delete a particular item group.

STEP 3: A confirmation box will appear, click on “OK” and the item group will be deleted successfully.