The Tag feature helps the user with re-grouping of ledgers into different categories beyond the normal accounting report available as per accounting standards.
How to Create Tag
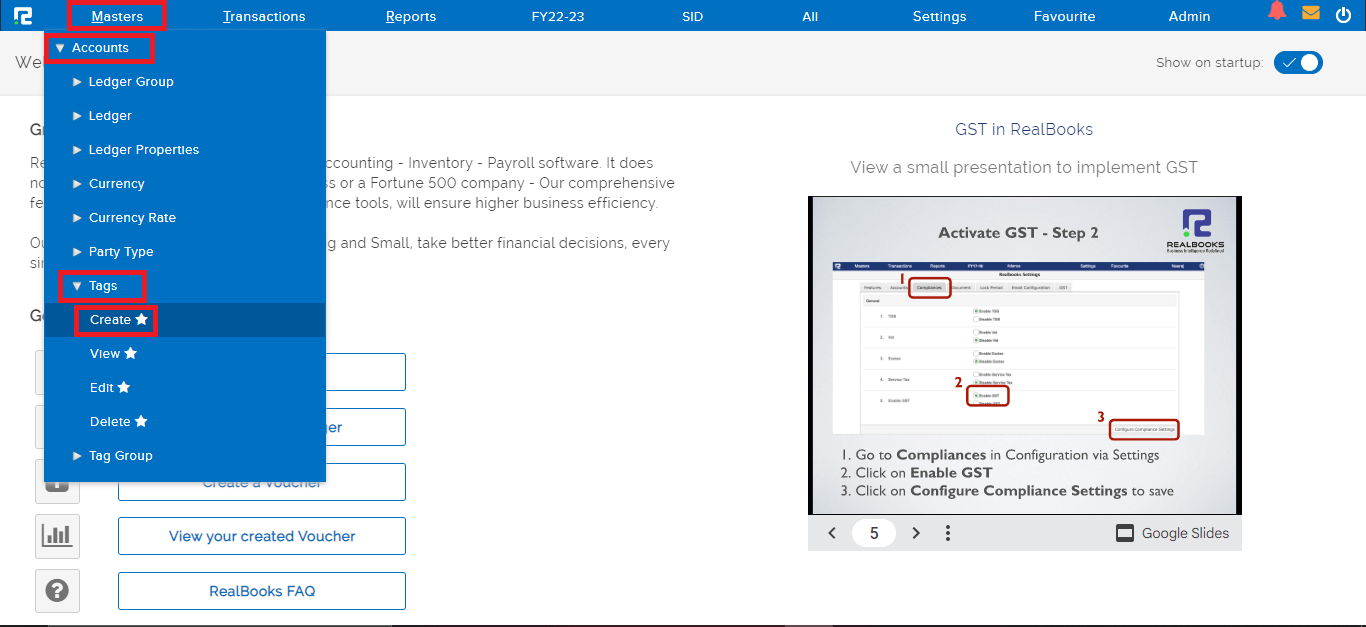
STEP 1: Go to Masters⇒ Accounts⇒ Tags⇒ Create
STEP 2: Fill in the following information after selecting the “CREATE” option.
1. Tag name- Enter the name of the tag.
2. Tag group– Select tag group from dropdown list.
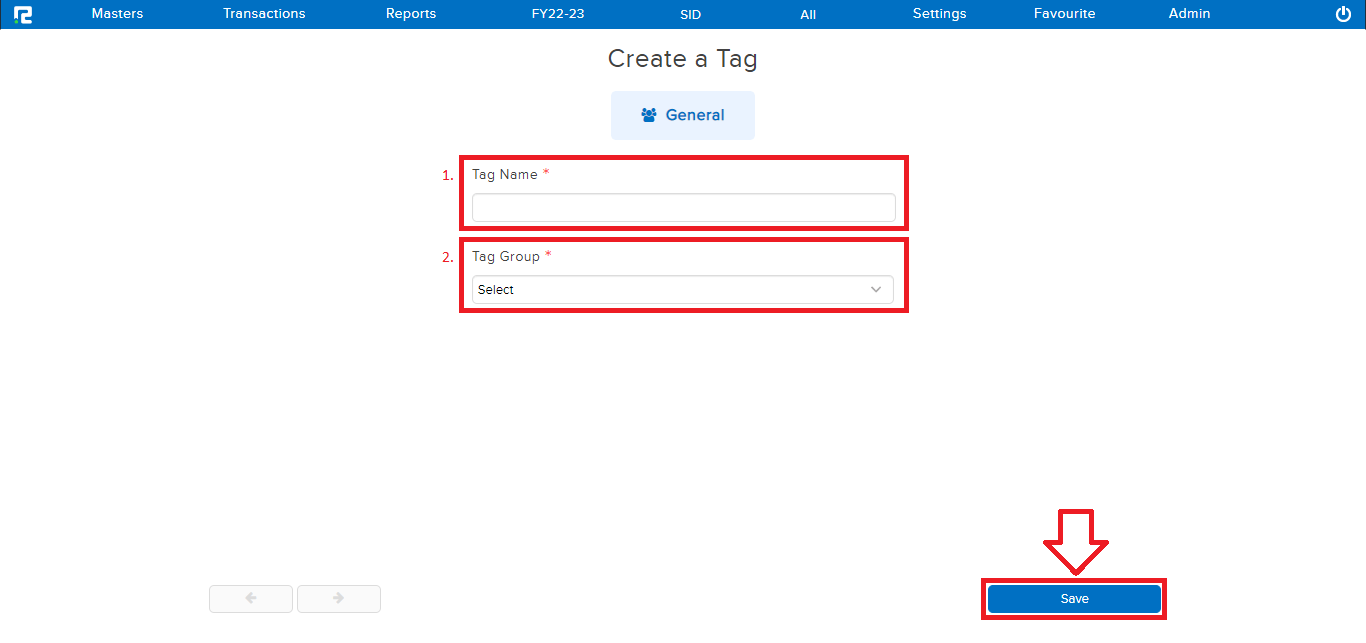
STEP 3: Click on “SAVE” and the Tag will be created successfully.
How to Edit Tag
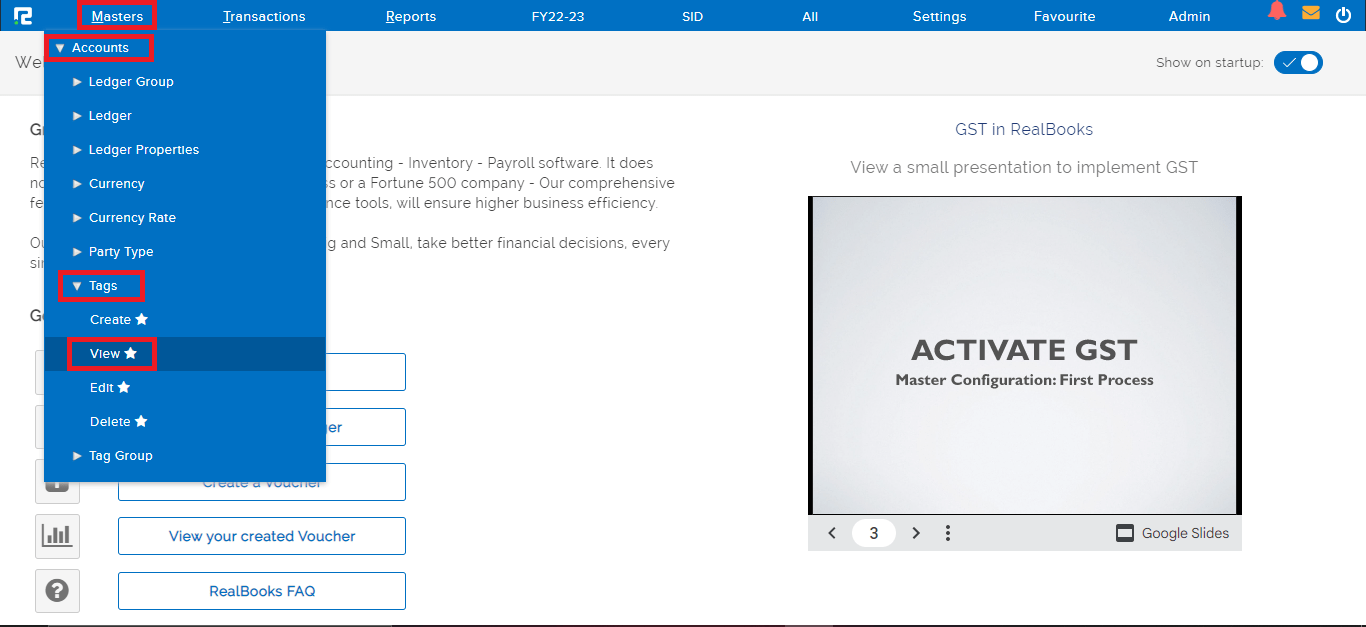
STEP 1: Go to Masters⇒ Accounts⇒ Tags⇒ Edit
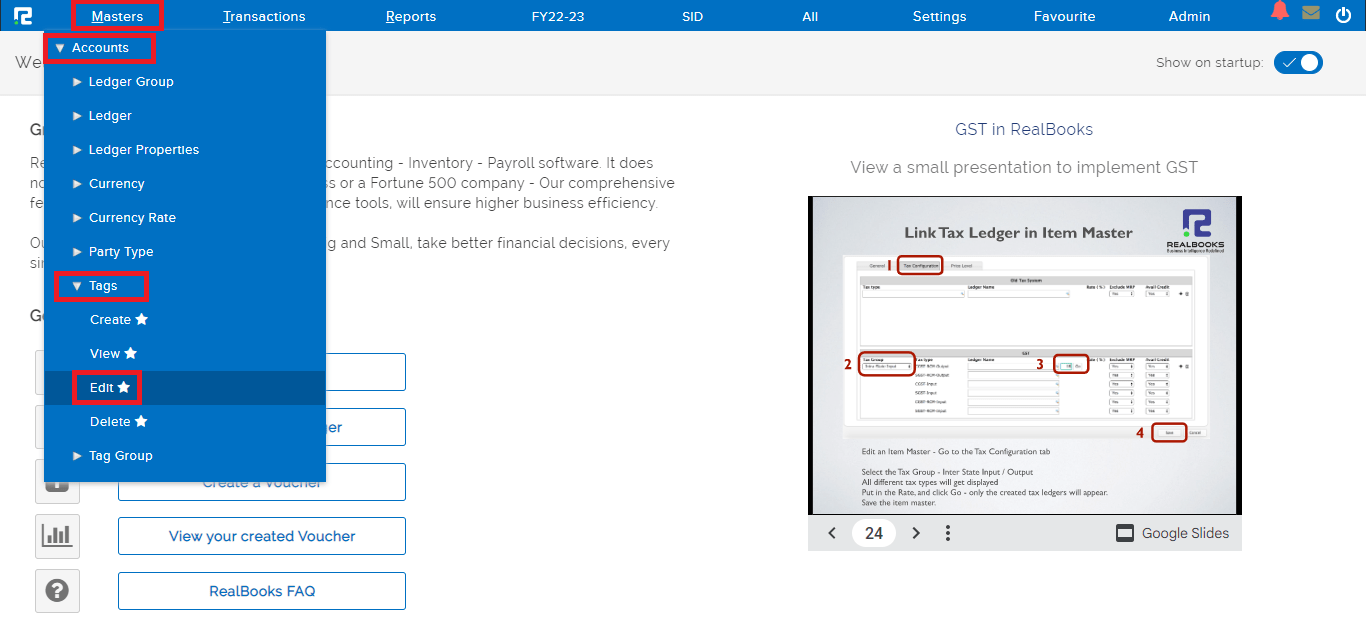
Once you click on the edit option, The entire list of existing tags will be displayed here. In the case of long lists, it is easy to filter the data by searching for the name under the tag Name.
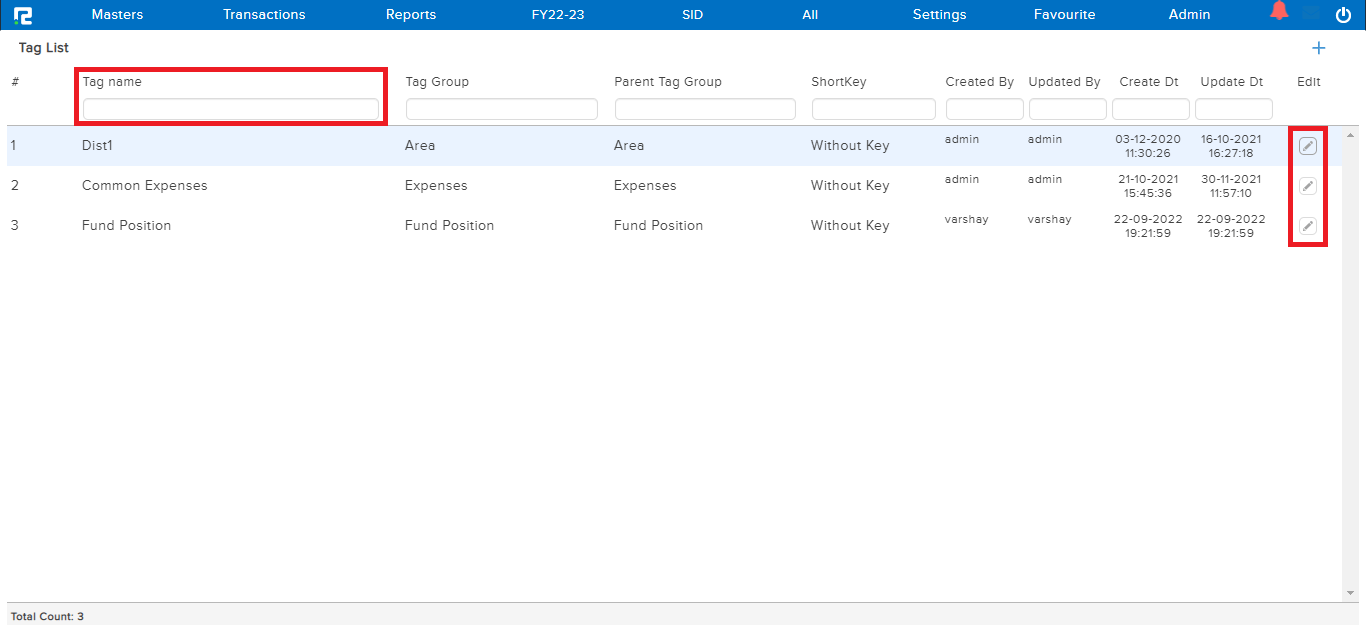
STEP 2: To edit any tag CLICK on the “PENCIL” icon or select the tag and press ENTER, tag Update page appears, wherein the details can be edited.
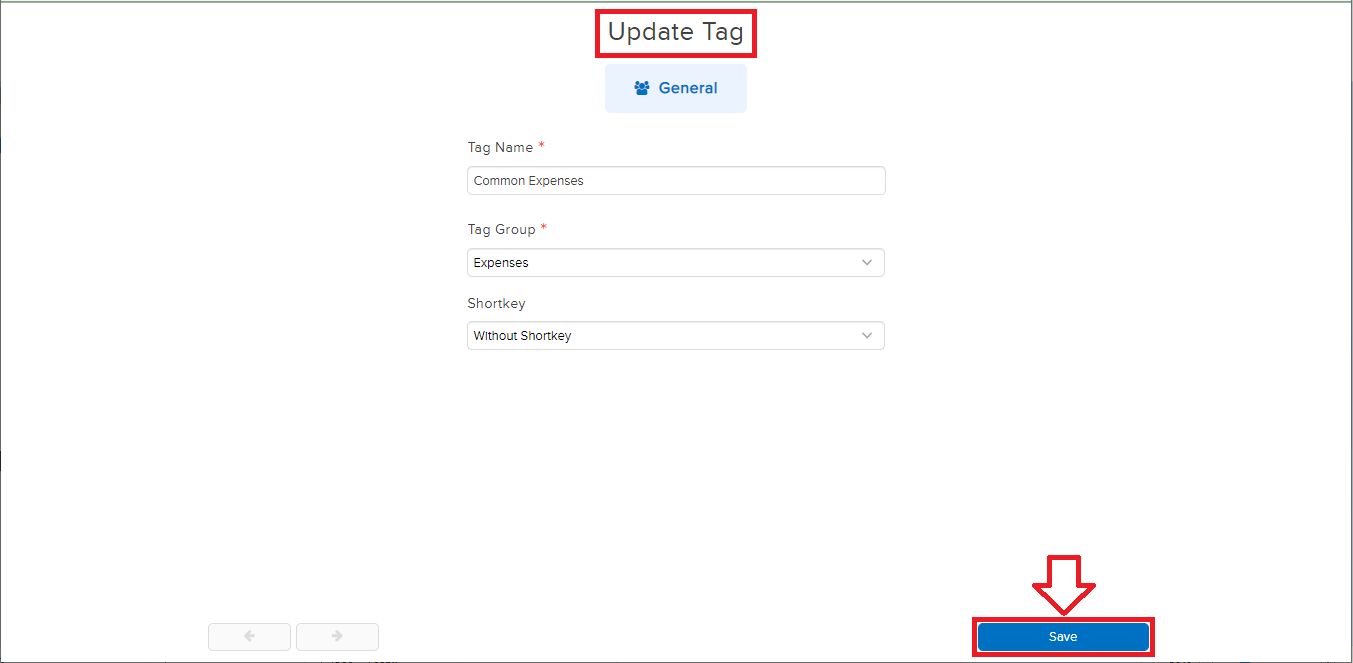
STEP 3: Once the data is modified, CLICK on “SAVE” to update the details.
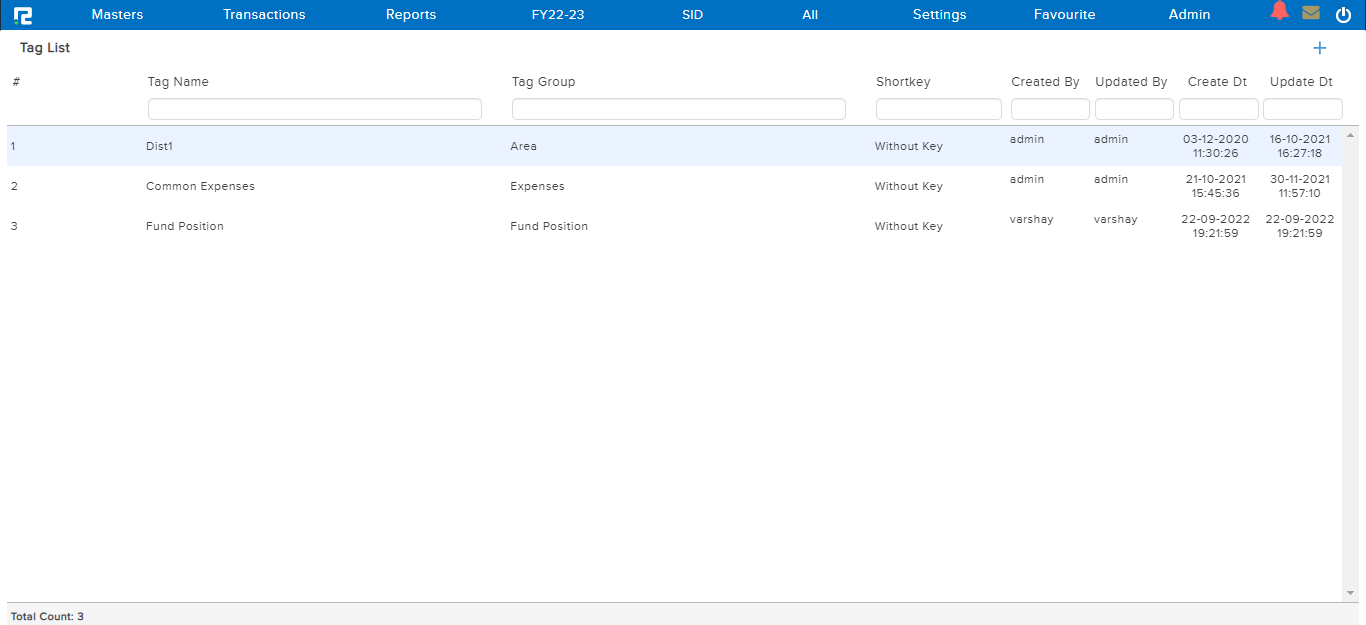
How to View Tag
STEP 1: Go to Masters⇒ Accounts⇒ Tags⇒ View
STEP2: The entire list of existing tag group will be displayed here.
How to Delete Tag
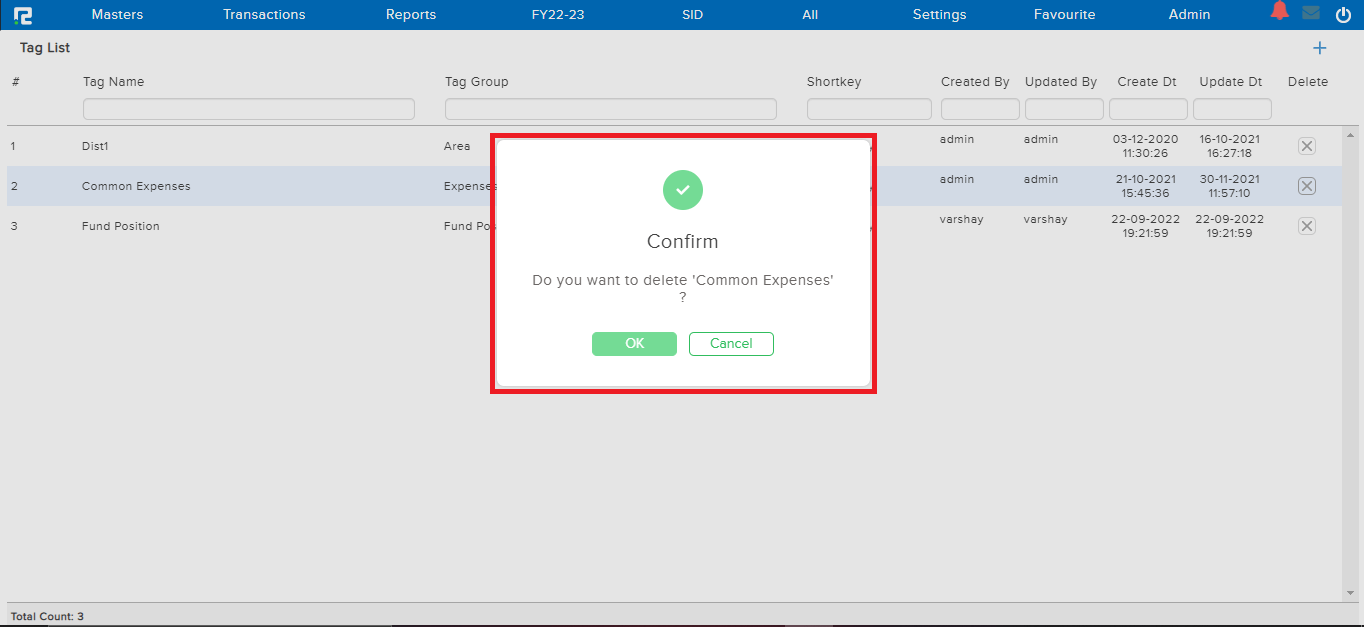
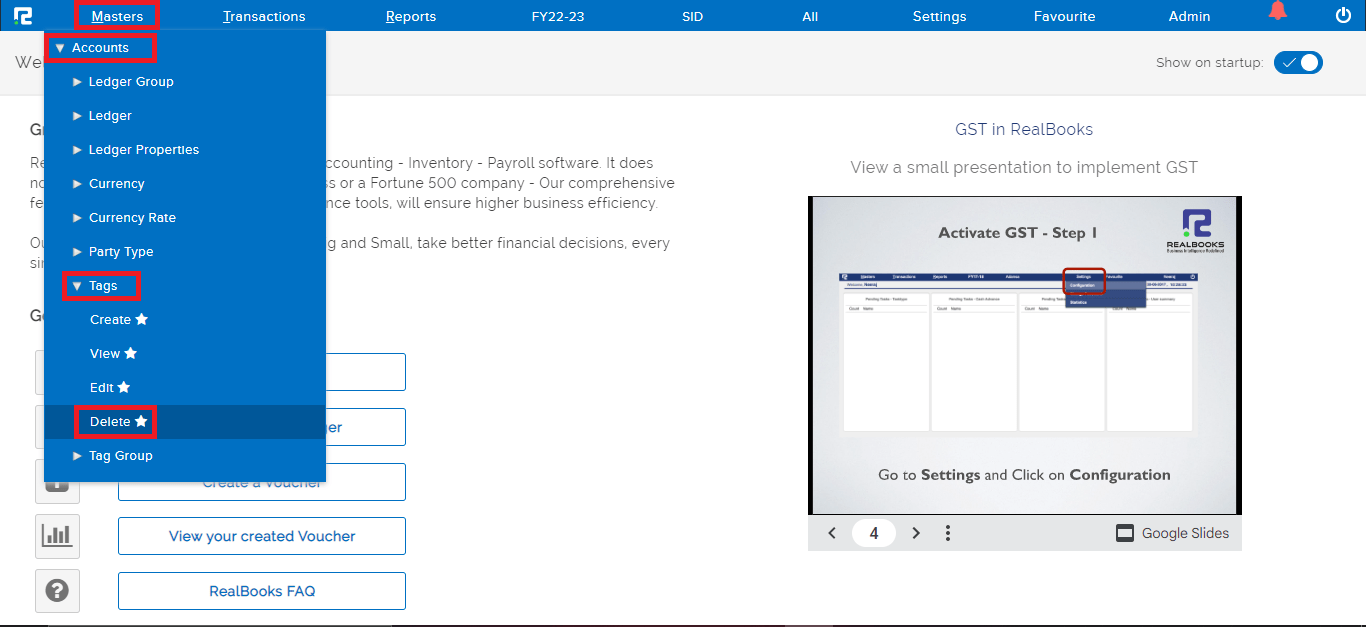
STEP 1: Go to Masters⇒ Accounts⇒ Tags⇒ Delete
All the tags that you have created will be displayed.
STEP2: At the right end of each tag a “x” icon is present, click on it to delete a particular tag.
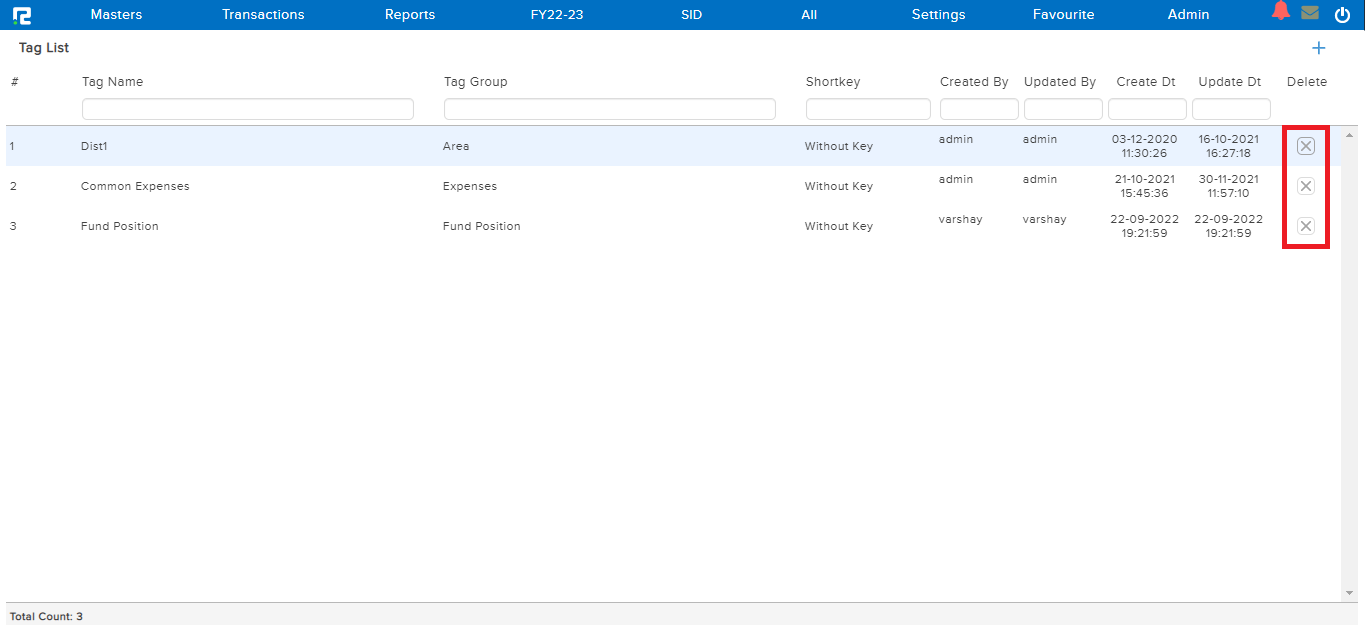
STEP3: A confirmation box will appear once you click on “OK” the tag will get deleted.